Virtual Bookshelves on iOS
We’ve just finished a series of big updates to the iOS app, and chief among the changes you should be seeing in the app now is the introduction of Virtual Bookshelves. You’ve been able to create and manage them using the web app, but up until now the mobile app didn’t have a way for you to see them – now you can make use of all those wonderful bookshelves even when you’re not on your computer.
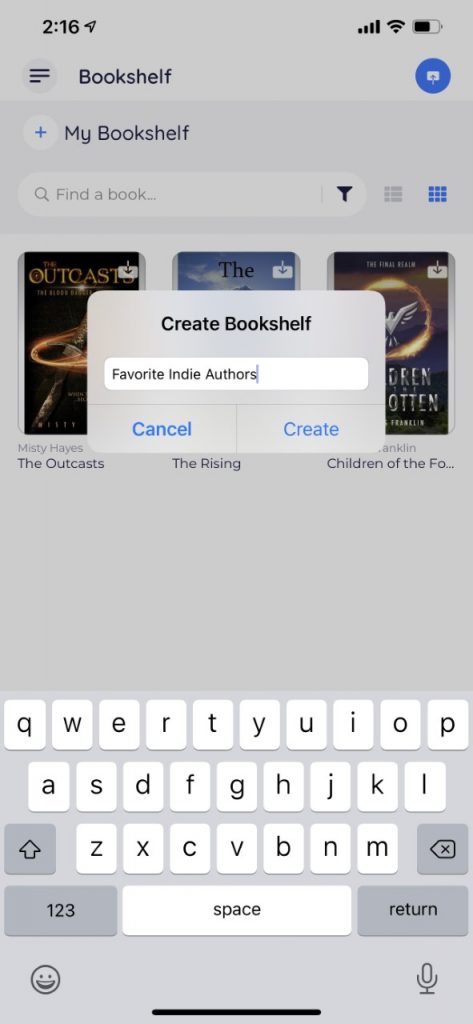
Creating a Virtual Bookshelf
In the iOS app you will still see the standard view you’re used to when you open it, showing off your default bookshelf which contains all the books in your library. But now you’ll notice there’s a + sign next to “My Bookshelf” at the top, allowing you to create a brand new shelf for organizing your books. Just tap that + button and give your bookshelf a name, and you’re ready to go!
Adding Books to Virtual Bookshelves
Once you’ve created your shelf, now the fun begins of putting the books you want into it. You’ll see the blank shelf once you’ve named it, so just tap the empty book icon with the + sign and it’ll let you select as many books as you’d like to place on your new shelf. In the below example, you’ll see I’ve selected three books by tapping on each of them, and now I just need to click the Add button to save them to the new shelf.

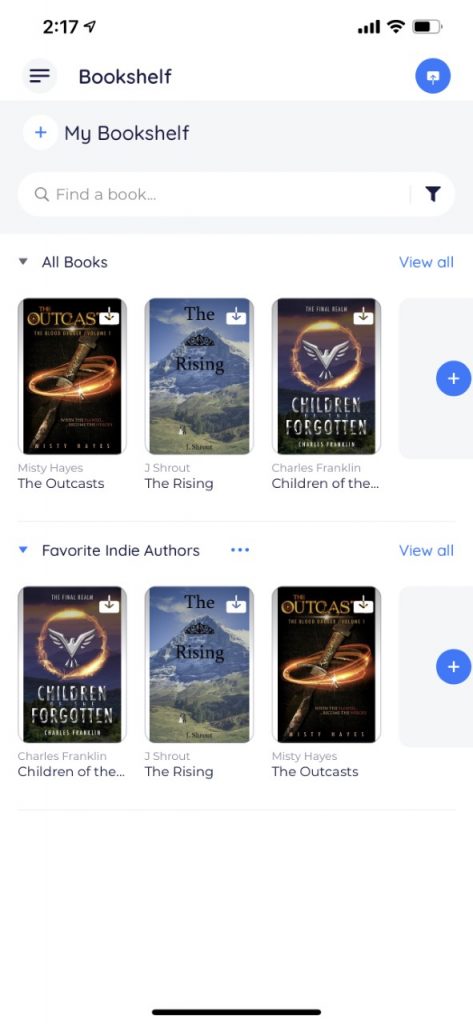
Viewing a New Bookshelf 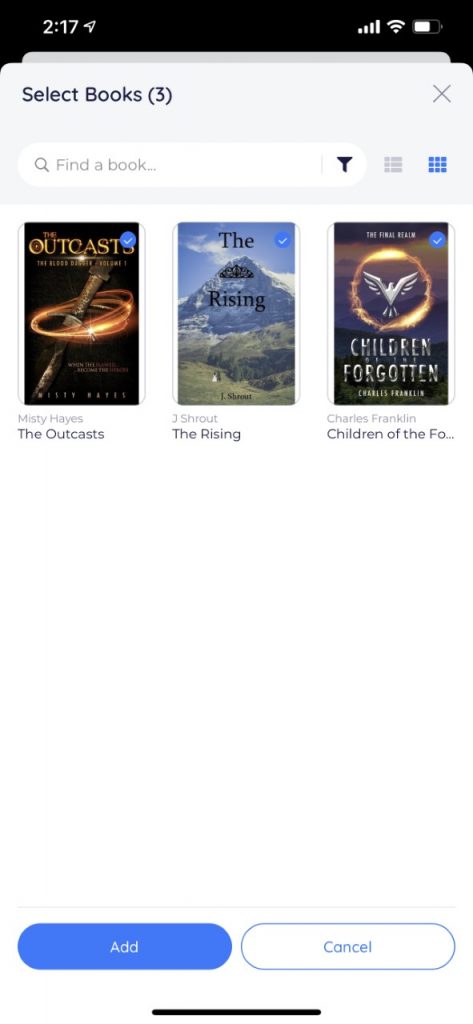
Adding Books to a New Bookshelf
Using Your New Virtual Bookshelf
Now that you’ve created a new shelf and added books to it, you’ll see it on the main view of the iOS app, where you can add more books to it if you’d like or expand it so you can see all the books you already added. From this main view, you can also add as many more Virtual Bookshelves as you’d like and keep organizing your library in whatever way you feel works best for you.